Do You Know What Each Step in Your Painting Process Is For?
When you sit down to paint, what do you do first?
Maybe you start with a drawing. Then you block in your large shapes. Then you begin adding color.
Or perhaps you start with a wash of color, establish your darks and gradually work toward the details.
But…Do you know what each step in your painting process is supposed to accomplish?
It's easy to develop a set of steps without giving much thought to why we're doing them in the first place.
Maybe you learned the process in a workshop. Maybe you've watched your favorite artist do it a hundred times. Or maybe it's simply the way you've always painted.
But ideally, each step in your process should help you solve one or more painting problems.
And understanding which problems you're trying to solve can help you make better decisions about how you want to work.
Watercolorist Matthew White Ep.102 offers a great example of what this looks like.
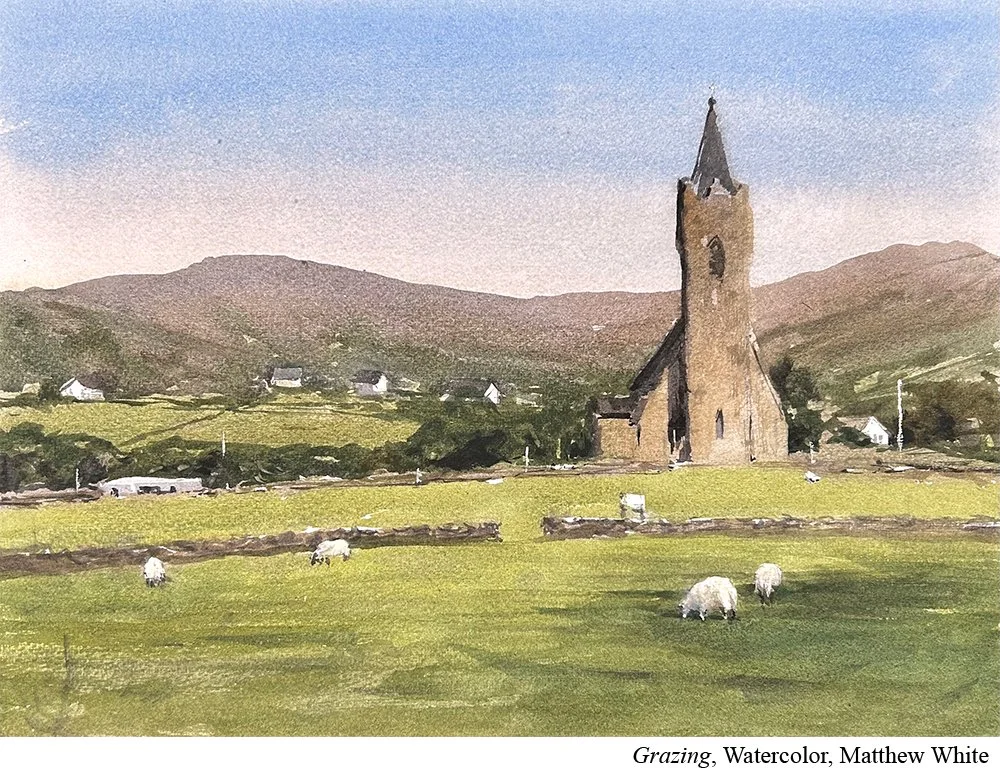
Three Washes, Three Different Jobs
When you first look at White's painting process, it's very straightforward.
He uses a three-wash system, which he learned from artist Andy Evansen, Ep.12.
In White’s first wash, he establishes his light values.
In his second wash, he builds his middle values.
And in his final wash, he adds his darkest values and details.
It's a super simple sequence. But what's interesting is how much thought goes into what each wash is supposed to help the artist do.
White isn't simply applying three layers of paint.
Each wash gives him an opportunity to solve a particular set of painting problems.
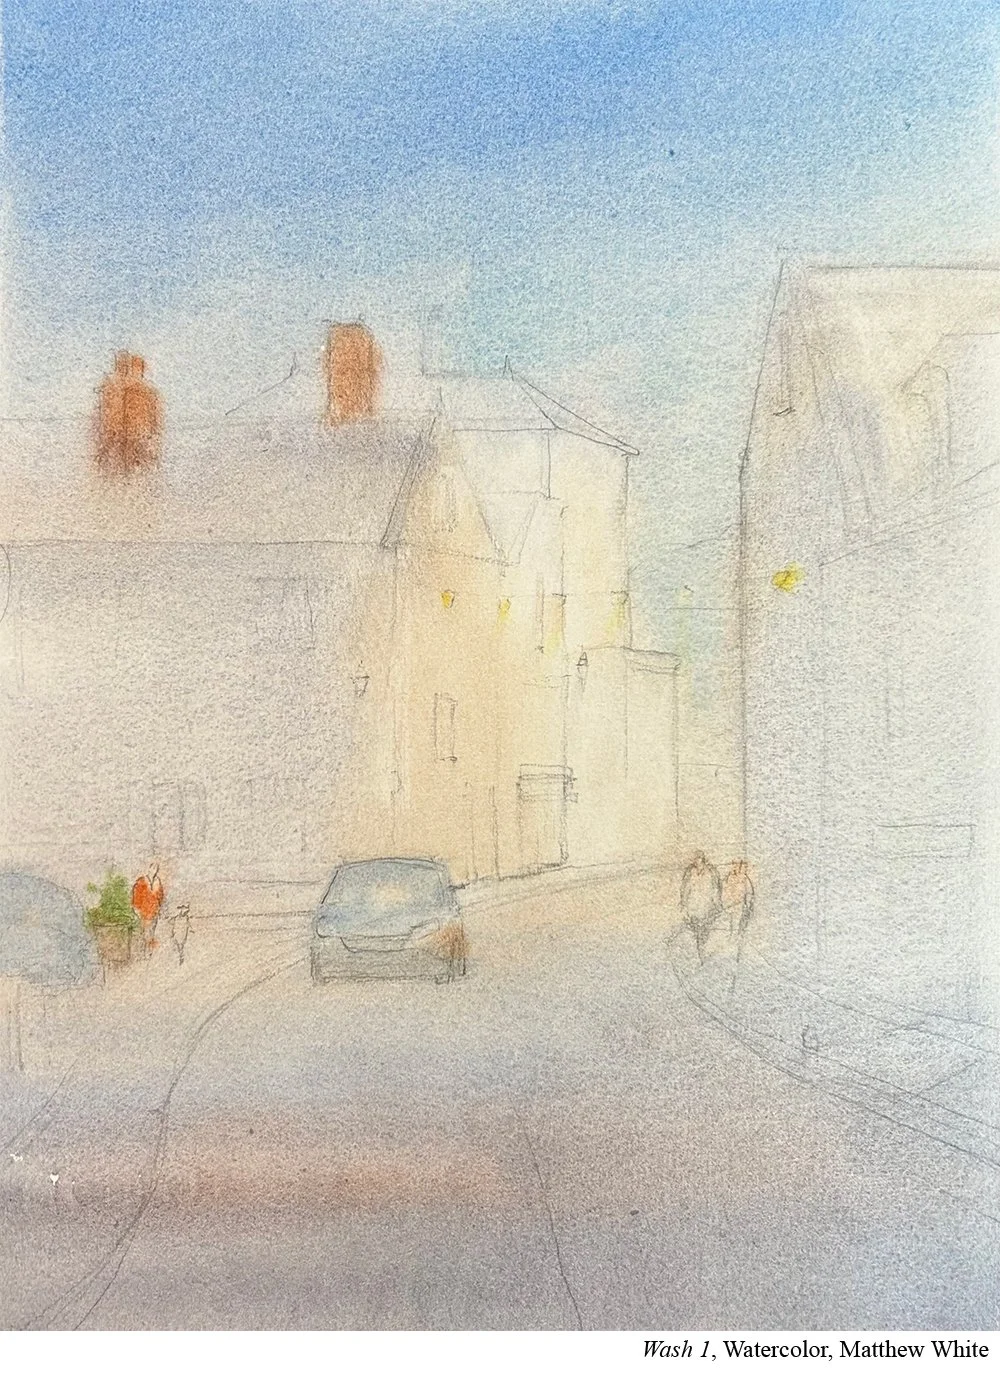
Wash 1: Establish Light and Atmosphere
White's first wash establishes the light values in his painting.
He's thinking about the light-value family, soft edges and the way colors move into one another.
Because his paper is wet during this stage, it's also a great chance to create some of the softest edges in the painting.
He's using his understanding of value, edges and color to establish the light and atmosphere.
And he's doing it at a point in the process when his specific materials (watercolor) make those effects easier to achieve.
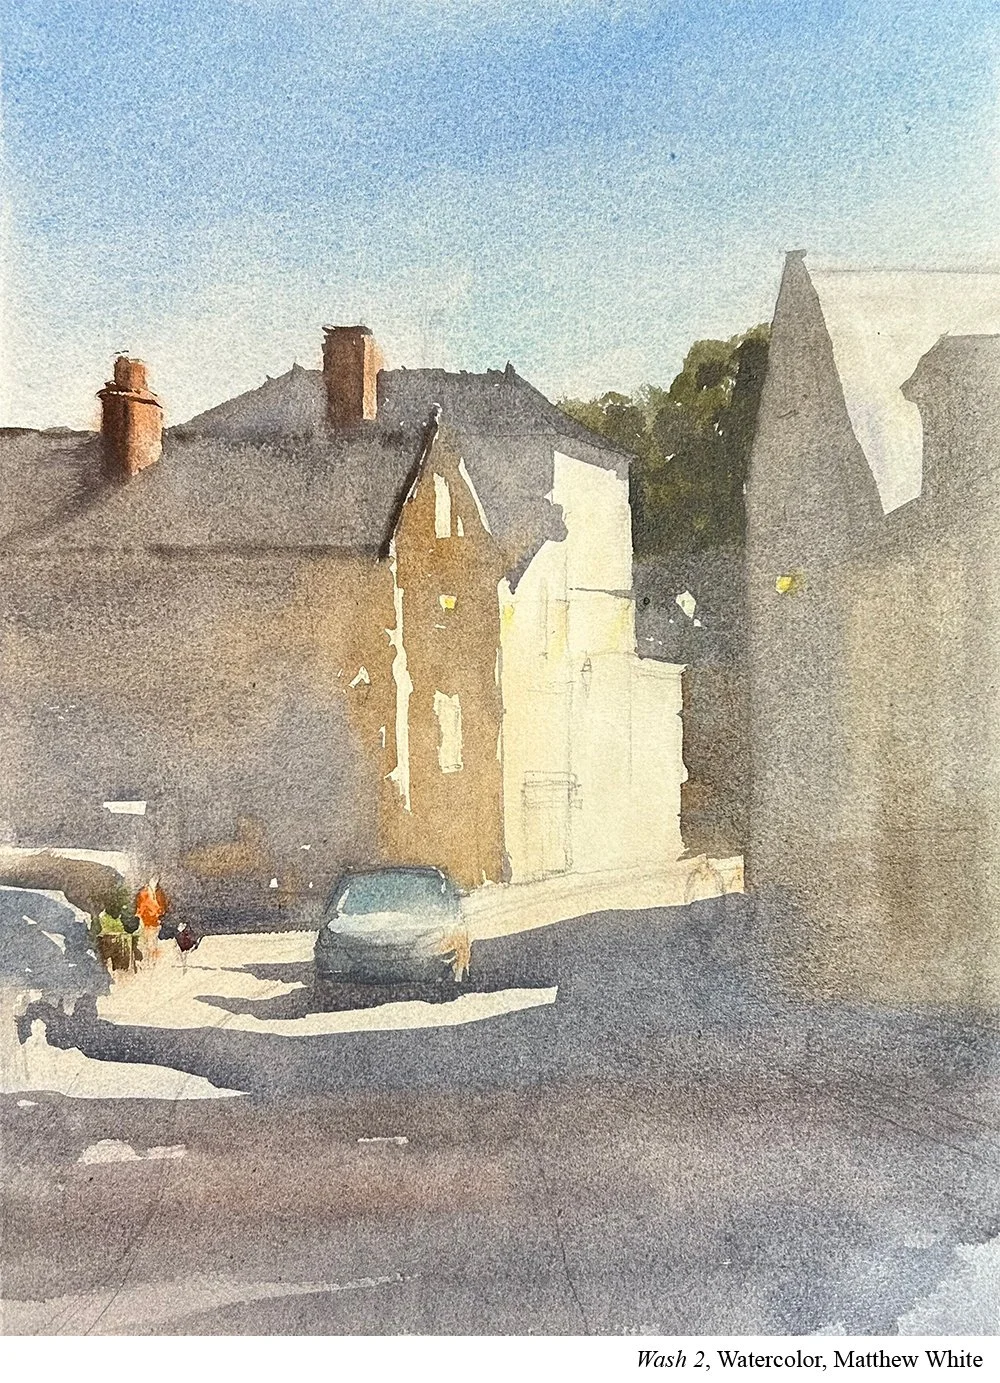
Wash 2: Organize the Painting
In his second wash, White moves into his middle values.
Here he's looking for a large, connected middle-value shape that, in his words, "holds your painting up."
A hill might connect to a tree. That tree might connect to a shadow in the foreground.
Instead of treating each object as an individual thing, he uses value to connect them into larger shapes.
He changes his colors as he goes. It will match the local colors in a scene. The hill might be brown. The tree is green. The foreground shadow is blue gray. But they are all midtone colors, which he physically connects.
The job of this wash is to organize the painting.
He's using value and shape to establish a structure that will support everything else he does.
Wash 3: Create Emphasis
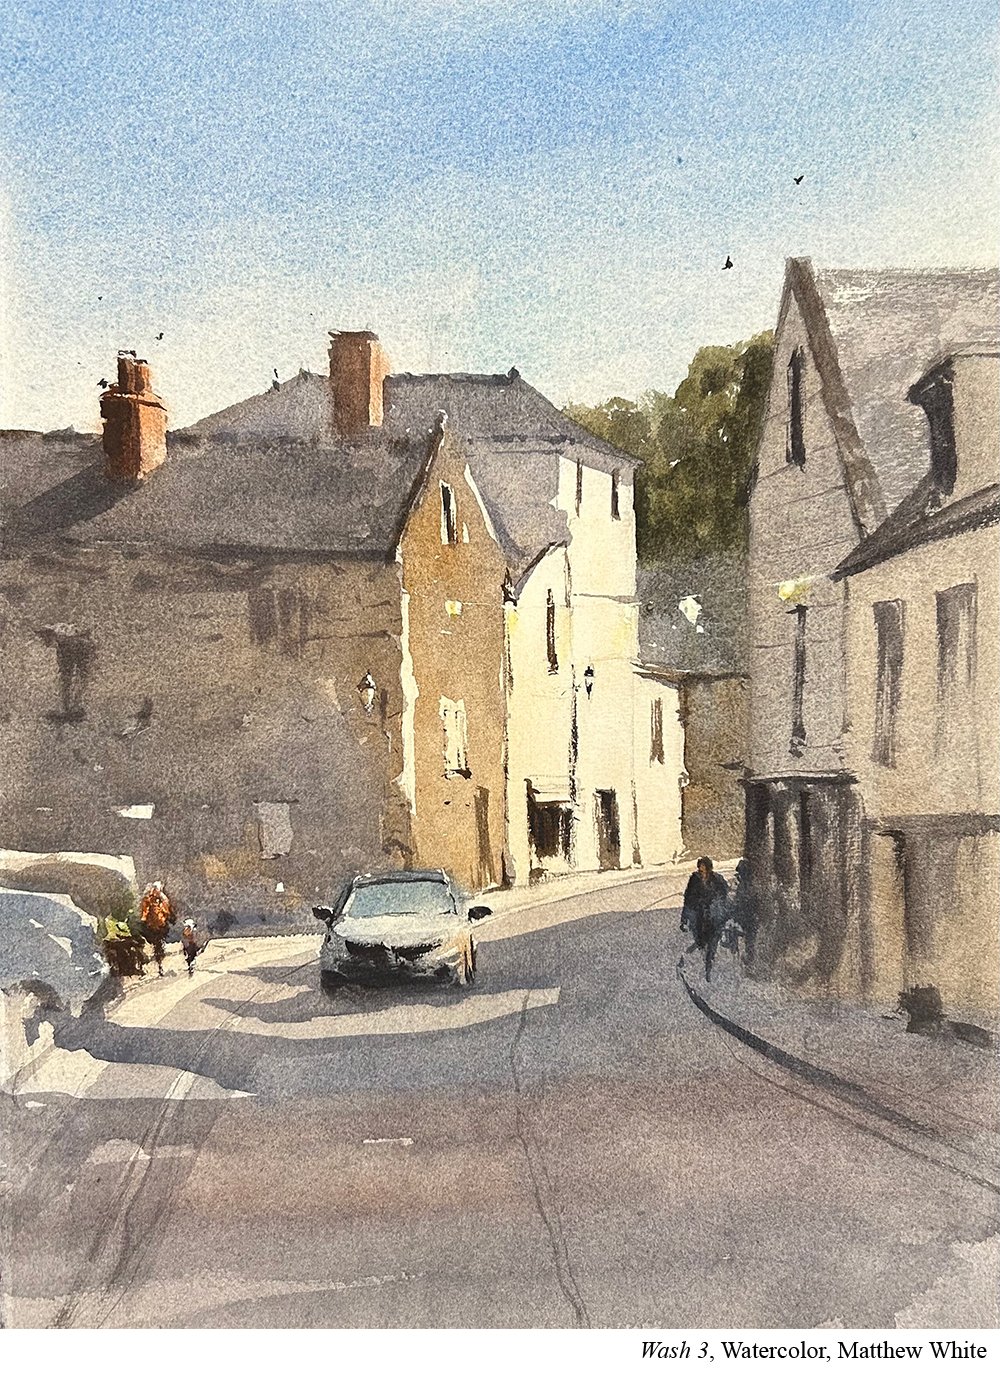
Finally, White adds his darkest values and details.
At this point, he becomes more selective.
He'll often begin near his main area of interest and then work outward, using darks, details and stronger contrast to help direct the viewer's attention.
He's still using value, but value has a different job at this point in his process.
Instead of organizing the large middle-value structure, his darkest values help him create emphasis. That emphasis pulls the viewer's eye. It says, “Look here!”
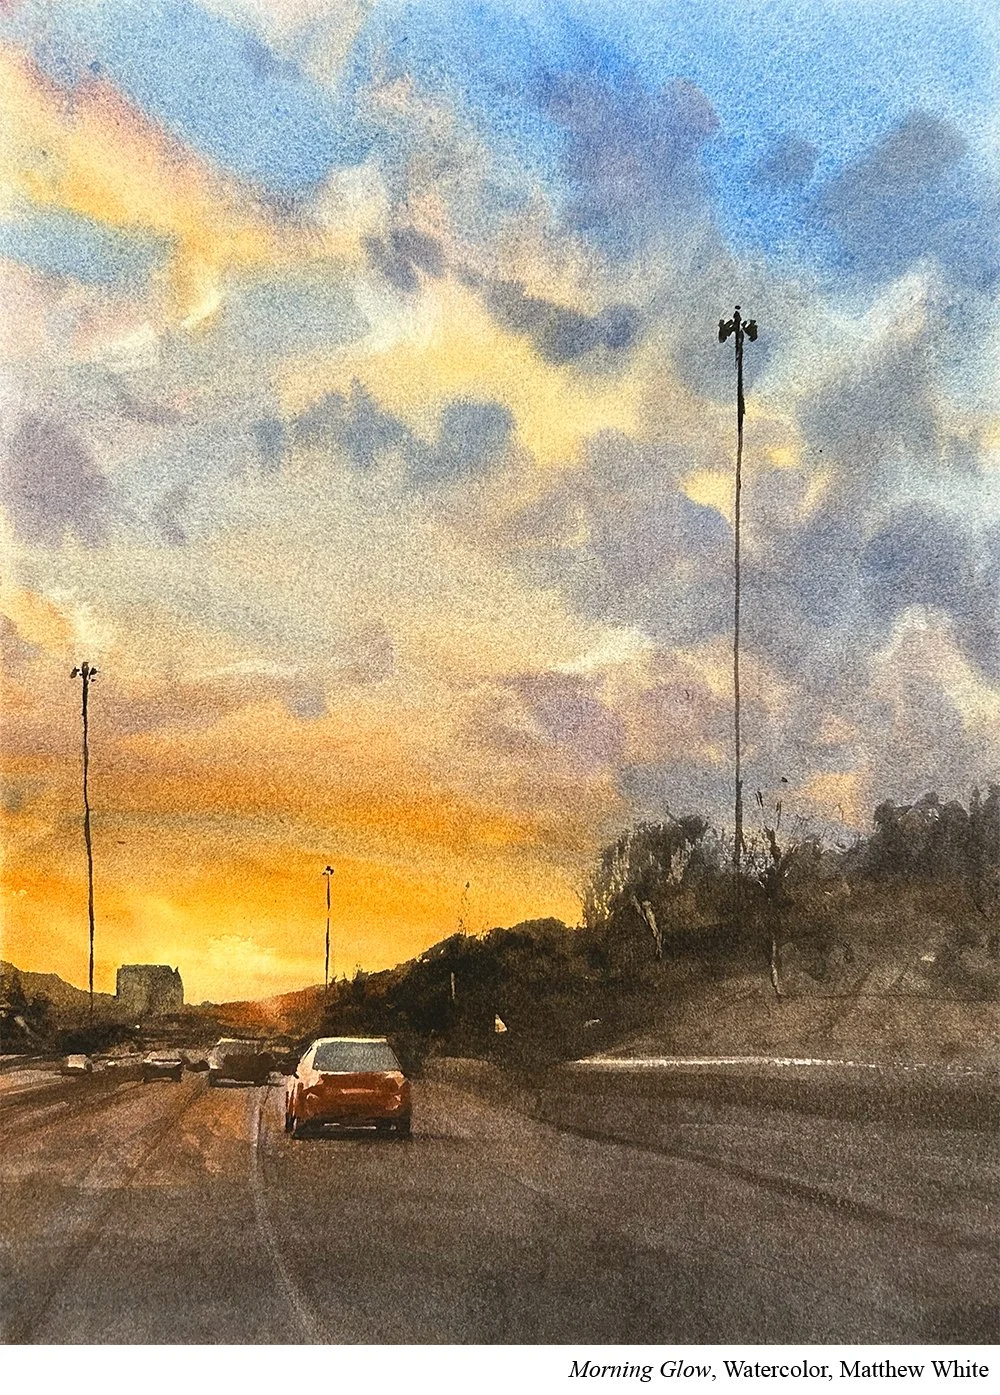
What's the Job of Your Next Step?
One of the things I love about White's process is that each stage has a clear purpose.
He's not trying to solve every problem at once.
Of course, these jobs overlap. He's thinking about value throughout the painting. And decisions he makes in one wash will affect what he can do in the next.
But the overall sequence gives him a way to organize his decisions.
And that's something you can begin experimenting within your own process.
For example, let's say you begin your paintings with a drawing.
What's the purpose of that drawing?
Are you trying to make sure everything is accurate? Are you working out the composition? Are you simplifying your subject into large shapes?
Your answer will affect how much time you spend drawing and what information you need to include.
If your goal is simply to establish the placement of a few large shapes, you might not need a detailed drawing.
Or let's say you start with an underpainting.
What's its job?
Maybe it's helping you establish the value structure. Maybe it's giving you a unified color to work over. Maybe it's helping you cover the white of the surface so you’re less scared to put down those first marks.
Knowing what you're trying to accomplish can help you decide how to approach that step and when it's finished.
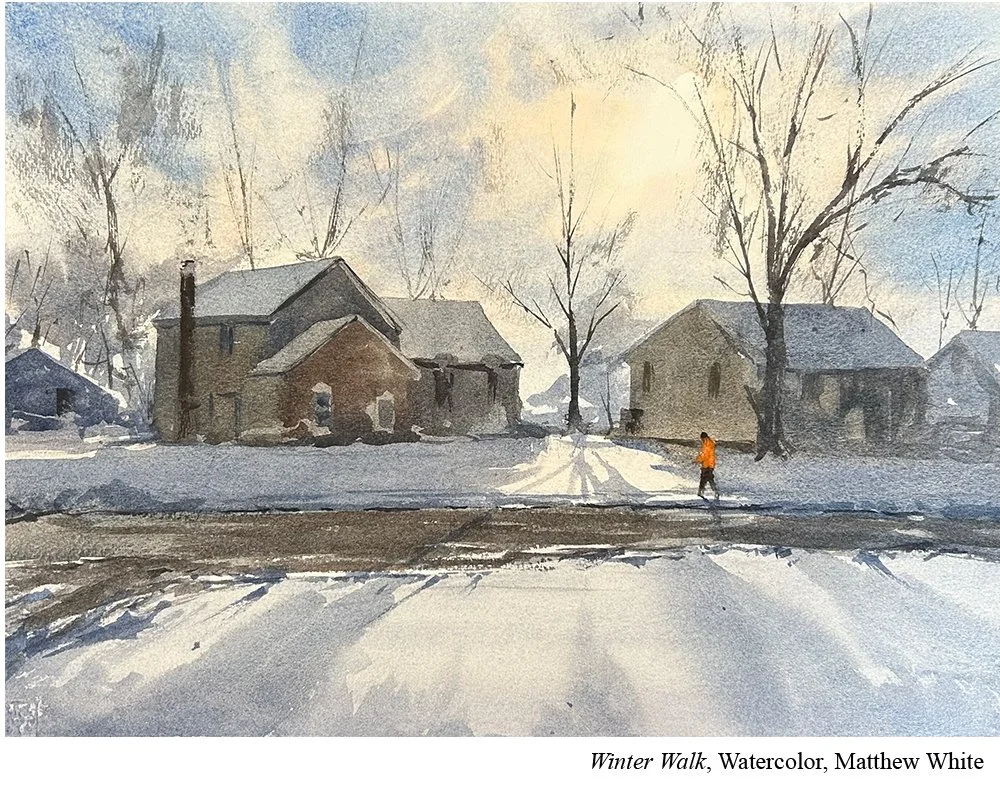
Put It to Practice: Give Each Step a Job
The next time you paint, take a few minutes to write down the steps you typically follow.
You don't need a complicated process. Three or four steps are plenty.
Then, beside each one, answer two questions:
What problem am I trying to solve during this step?
How will I know when I've accomplished that job?
For example:
Step 1: Make a simple drawing.
Job: Establish the placement and proportions of the largest shapes.
Done when: I can see where the major shapes belong and feel ready to begin painting.
Step 2: Block in my large shapes.
Job: Establish the big value and color relationships.
Done when: The painting reads as a collection of large shapes, even without details.
Step 3: Develop the focal point.
Job: Use contrast, edges and details to help direct the viewer's attention.
Done when: The main area of interest has the emphasis I want.
These are just examples. Your process might look completely different.
And you might discover that some of your steps are doing several jobs at once.
That's fine.
The goal is to understand what you're trying to accomplish at each stage of your painting.
Because when you know what a step is supposed to accomplish, it's easier to decide what to do, how to do it and when you're ready to move on.