
Paint More Convincing Light and Shadow
Have you ever lost power after dark?
Your bright, colorful living room, with the patterned drapes and book filled shelves, suddenly becomes a formless dark mass. You can't see the shape of anything because you can't see it at all.
Then someone lights a candle or turns on a flashlight. Suddenly the room comes back to life, but it looks different again.
Across all three scenes, the objects haven't changed. The light has.
As painters, that's what we're studying. The way light falls across an object completely changes how we experience it and, therefore, how we translate it onto a two-dimensional surface.
If you're a representative painter, whether you're working in photorealism or a more abstracted style, artists Sarah Sedwick (Ep.47) and Todd M Casey (Ep.24) both say that learning to see light and shadow is one of the best ways to make your paintings feel convincing.

The Anatomy of Light and Shadow
Todd M. Casey (Ep.24) explains that one of the best ways to understand light and shadow is to learn the vocabulary that describes it.
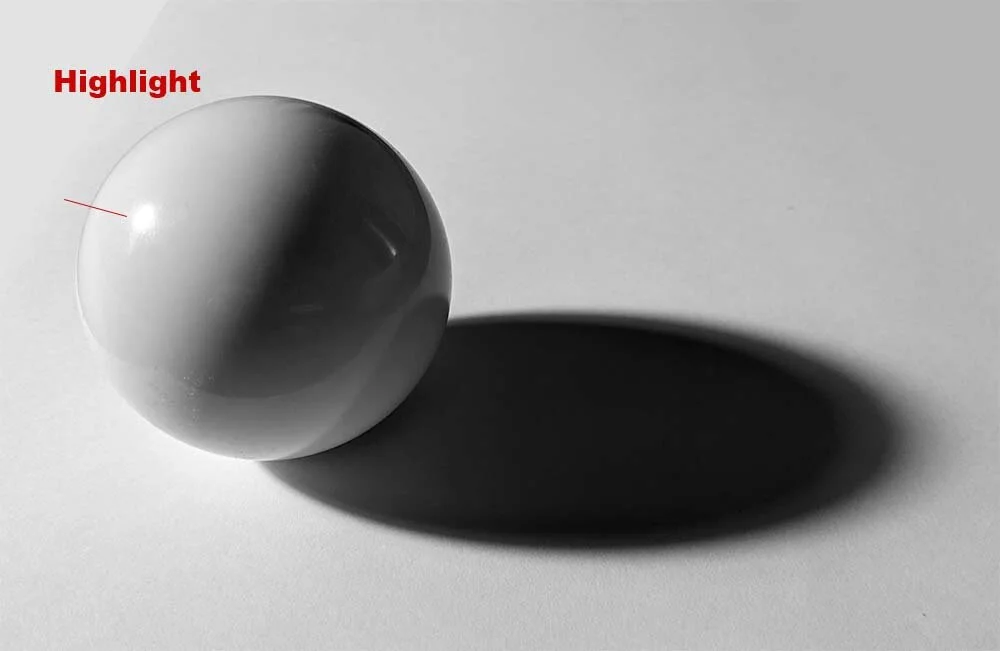
To do that, let's imagine a sphere lit by a single light source.

The side facing the light is called the light most facing plane. The opposite side is the shadow side.
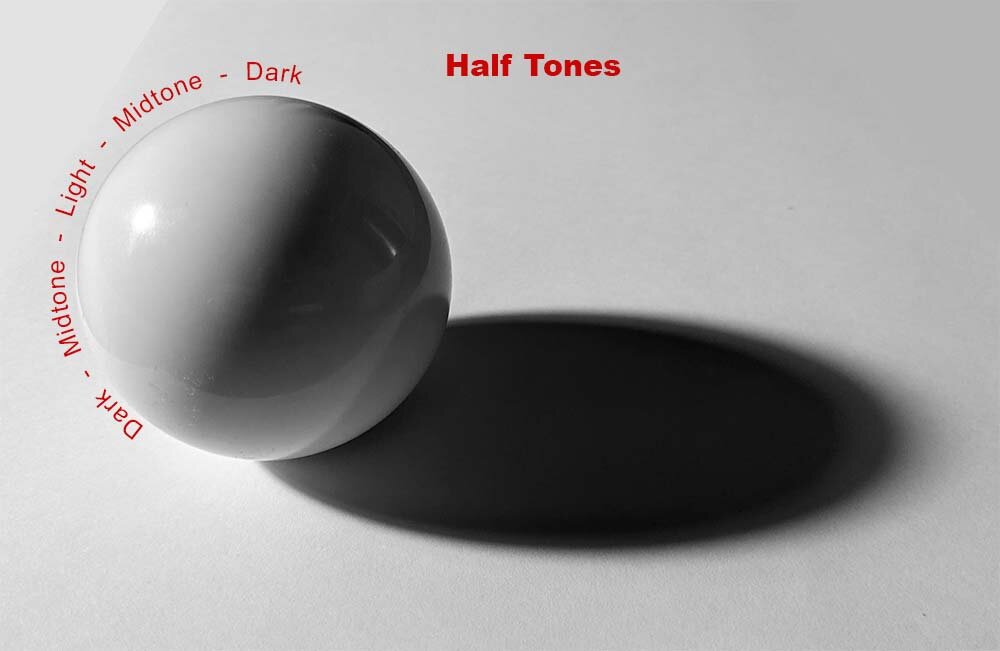
Of course, the light doesn't stop abruptly. As the sphere turns away from the light, it gradually moves through light halftones, middle halftones, and dark halftones before reaching shadow. Those gradual changes describe the roundness of the form.

The place where the light side ends and the shadow begins is called the terminator, sometimes referred to as the "bedbug line." This marks the beginning of the form shadow.
As you move deeper into the shadow, something interesting happens. Instead of becoming darker and darker forever, the shadow often becomes lighter again. That's because of bounce light.
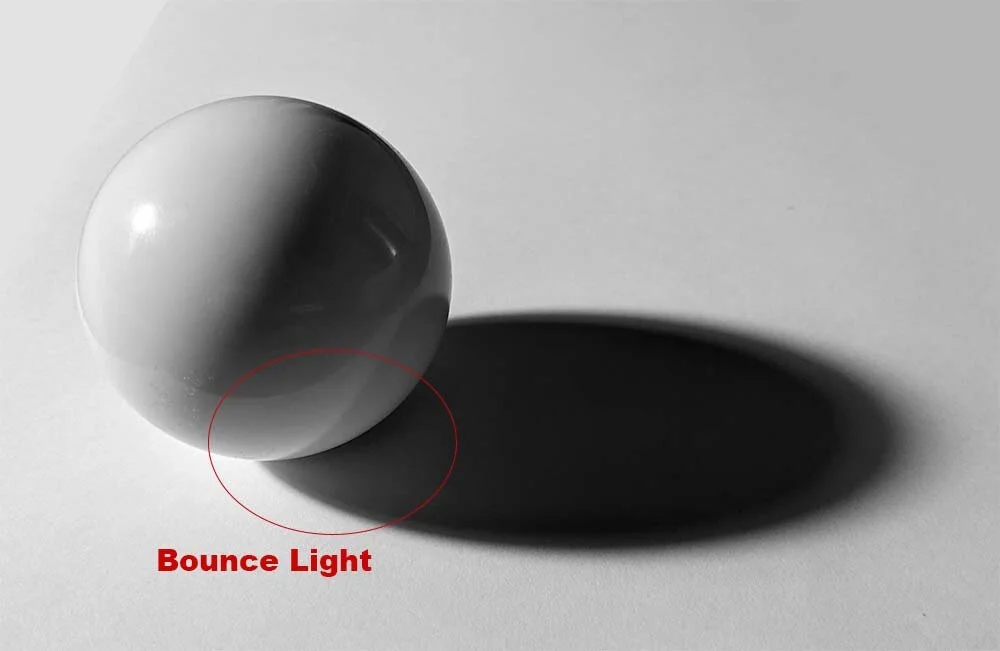
Bounce light is exactly what it sounds like. Light reflects off nearby surfaces and bounces back into the shadow. This reflected light softens the darkness and can even introduce unexpected color. It's why portrait painters sometimes paint hints of a shirt color underneath a person's chin, or why a white tablecloth can brighten the underside of an object resting on it.
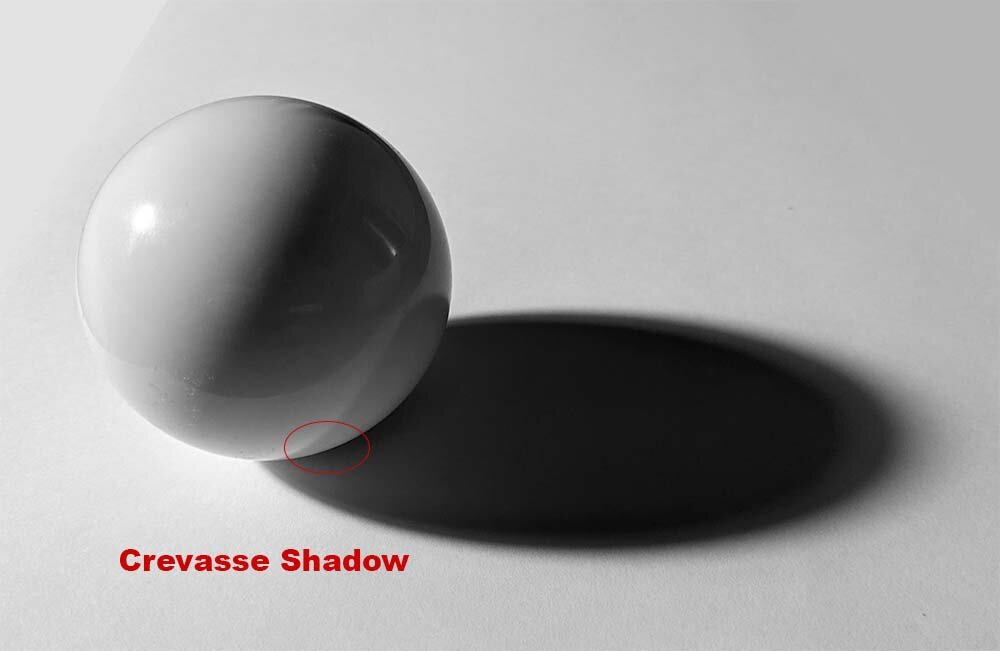
There is one place, though, where bounce light can't easily reach.
The occlusion shadow, also called the crevasse shadow, is the small area where the object touches another surface. Because very little light can reach this space, it is often the darkest part of the entire shadow family.
Now look beyond the object itself to the table beneath it.
The shadow cast onto the surface is called the cast shadow. Unlike the form shadow, which describes the turning of the object, the cast shadow is created because the object blocks the light.
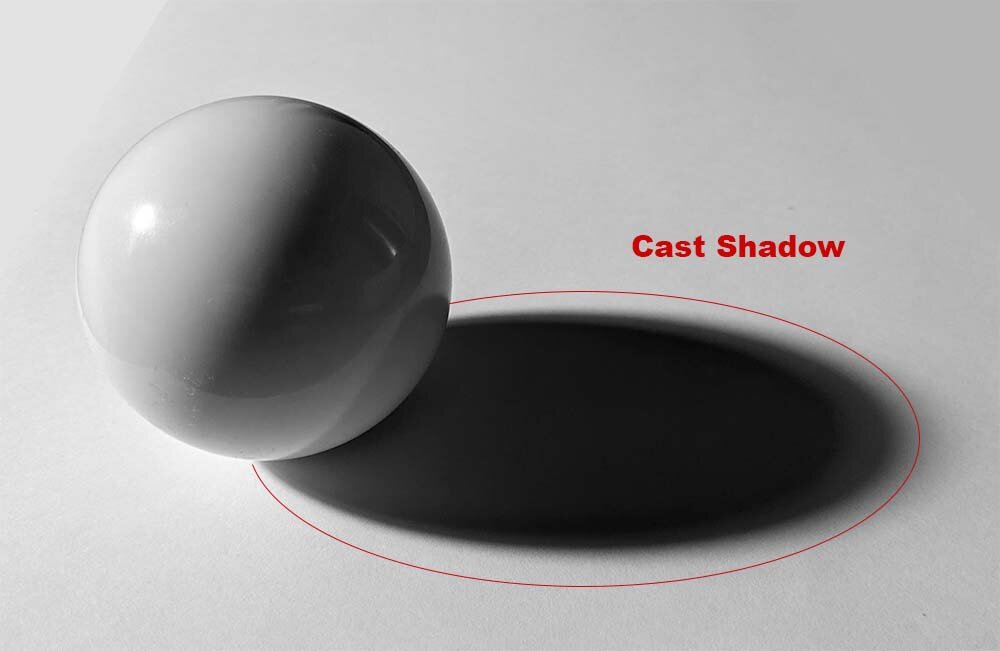
Understanding the difference between those two shadows is an important step toward painting believable light.
Finally, there's the highlight.
Unlike the light most facing plane, the highlight isn't simply where the light is strongest. It depends on the angle between the light source, the object, and the viewer. As you move around an object, the highlight appears to move too because you're seeing reflected light, not just direct light.
Light and Shadow in Paint
We've been looking at a simple sphere, but these same principles apply to everything you paint. A coffee mug. A portrait. Wrinkled fabric. A vase full of flowers.
As you begin studying light and shadow, spend time really looking at your reference. Whenever possible, study from life. Cameras often flatten values and lose some of the subtle shifts your eyes can see.
For example, photos frequently push shadows darker and lose many of the gentle changes in color and value created by bounce light.
The first step is learning what to look for. You can even use the terms above as a checklist while you study your subject.
The next step is to translate that into hard edges and soft edges. For example, often a cast shadow has hard edges whereas the form shadow is made up of soft edges.

Once you know what types of edges you'll need, it's time to build skills around creating those edges in your medium of choice.
Painting a hard edge is fairly straightforward in almost every medium. Soft edges usually require much more practice.
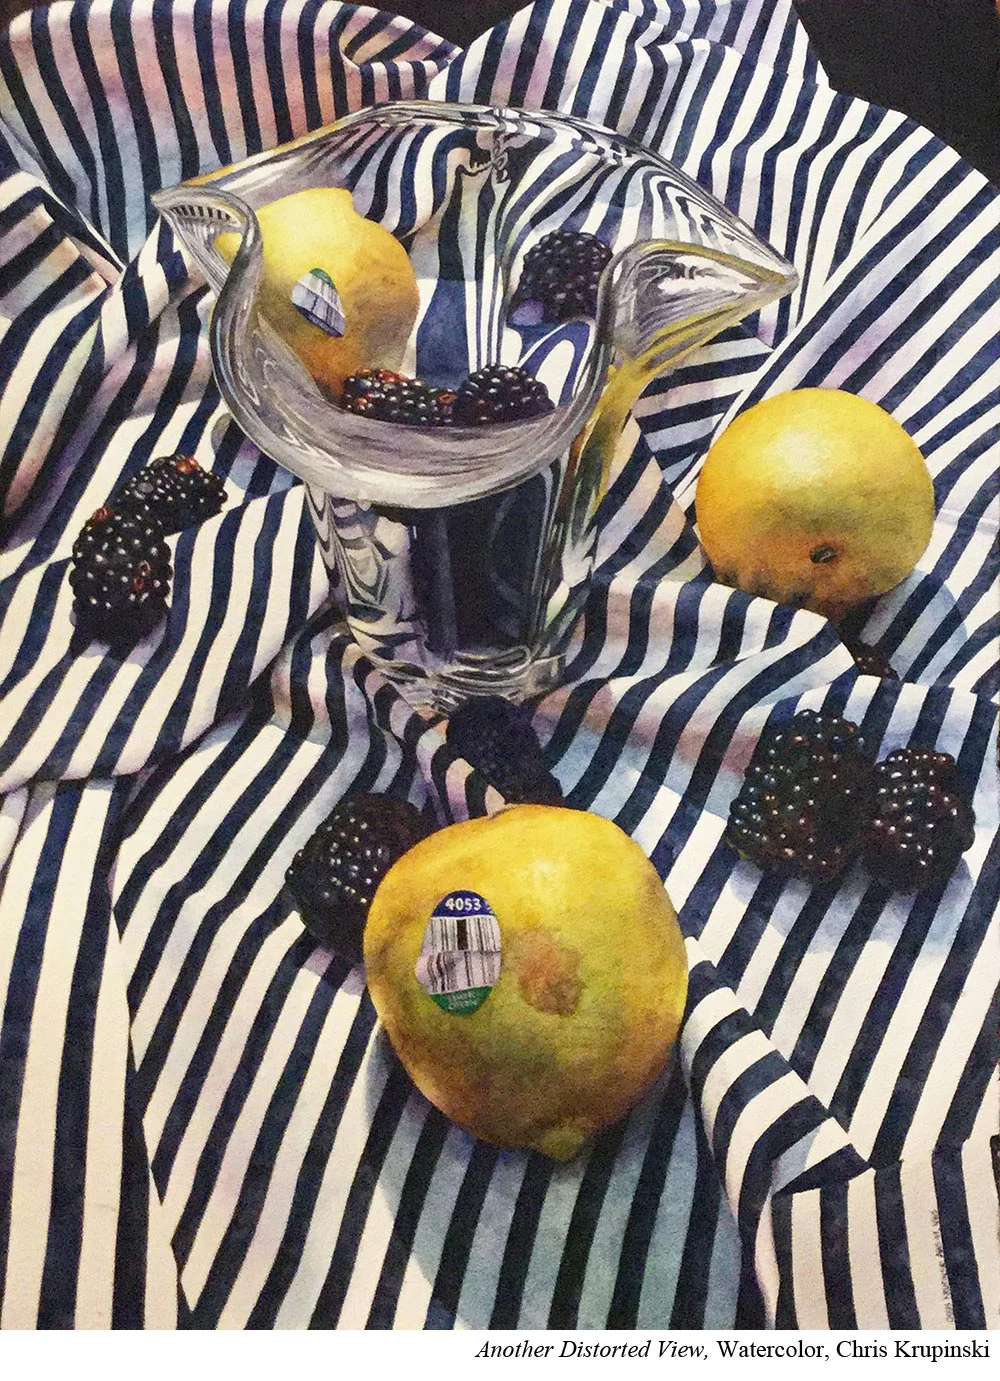
In watercolor, that often means learning to paint a graduated wash while managing moisture so you don't create unwanted blooms. If you'd like to practice this skill, search for tutorials on graduated washes.
In acrylic, soft edges can be challenging because the paint dries so quickly. You often need to plan ahead and have your blending brushes ready while the paint is still wet.
In oil, the challenge can be the opposite. Because the paint stays workable so long, it's easy to soften everything. Learning where to keep edges crisp becomes just as important as learning how to blend.
Every medium asks you to build a different set of technical skills. That's part of becoming a stronger painter.
From Technique to Style
Once you're comfortable creating both hard and soft edges, you get to decide how you want to convey them in paint.
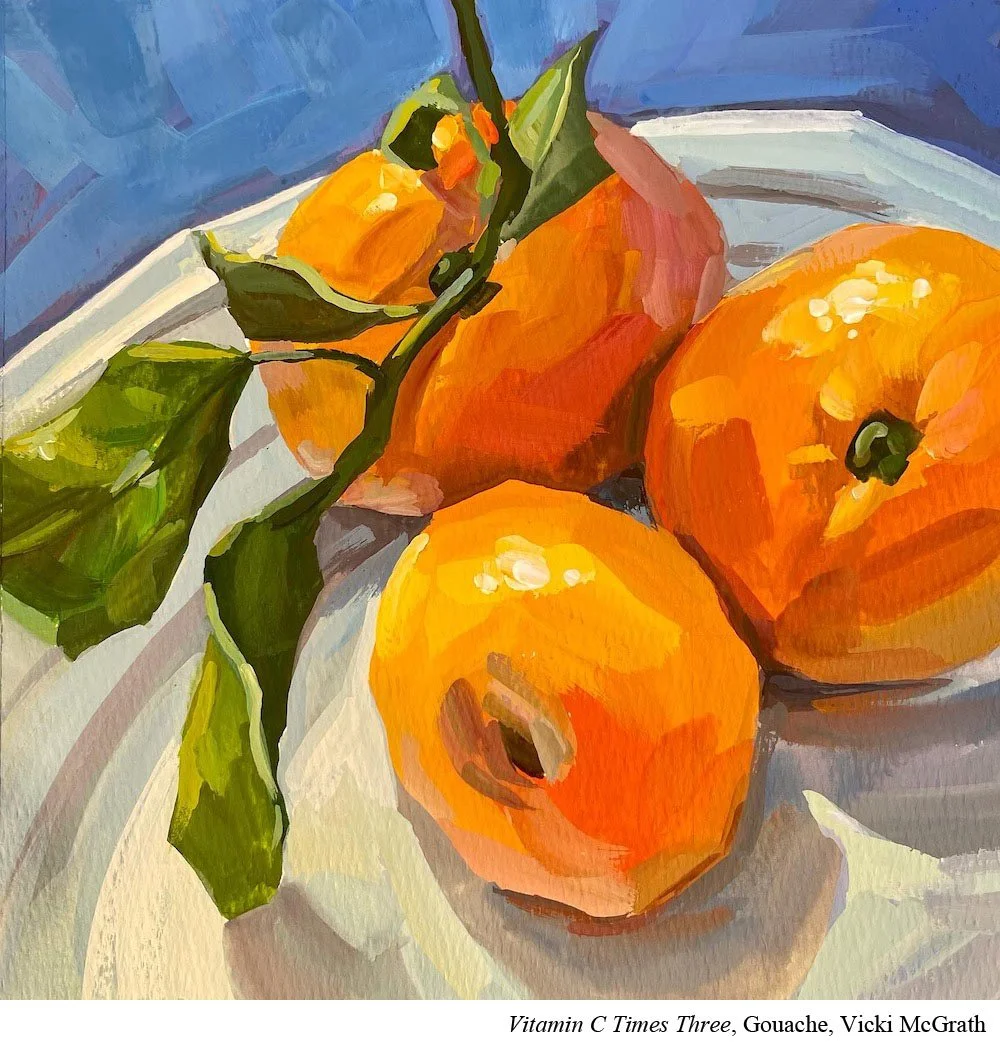
Some painters love crisp brushstrokes and rarely blend. Instead, they build the illusion of a turning form by placing one value next to another, then another, allowing the eye to connect the transition.
Other painters prefer softer blends where those transitions almost disappear.
Both approaches can create beautiful paintings. They simply produce different visual experiences.
Paying Attention to Reality
Even if you make stylistic choices, it's still helpful to pay attention to how light behaves in the real world.
One of the most common shadow mistakes Sedwick sees is treating every cast shadow edge the same.
She asks students to imagine a landing airplane.
When the plane is high in the sky, it might cast a faint, soft-edged shadow on the ground below, if any at all. As the plane gets closer to the runway, its shadow becomes sharper. By the time the wheels touch the tarmac, the edges are crisp and clearly defined.
Your objects work the same way.

Imagine you're painting a tall vase sitting on a table. The cast shadow closest to the vase, the part almost "touching down," will usually have the hardest edge. As the shadow stretches farther away from the vase, those edges gradually become softer.
This happens because the farther the object is from the surface receiving the shadow, the more room light has to spread around it. That creates softer transitions along the edge of the shadow.
It's a small observation, but it can make a surprising difference. Instead of painting one flat dark shape, you're describing how light moves through space.
Once you start looking for changing shadow edges, you'll notice them everywhere. Under coffee mugs. Beneath fruit. Across folded fabric. Under a person's chin. Very few cast shadows have exactly the same edge quality from beginning to end.
Pushing Reality
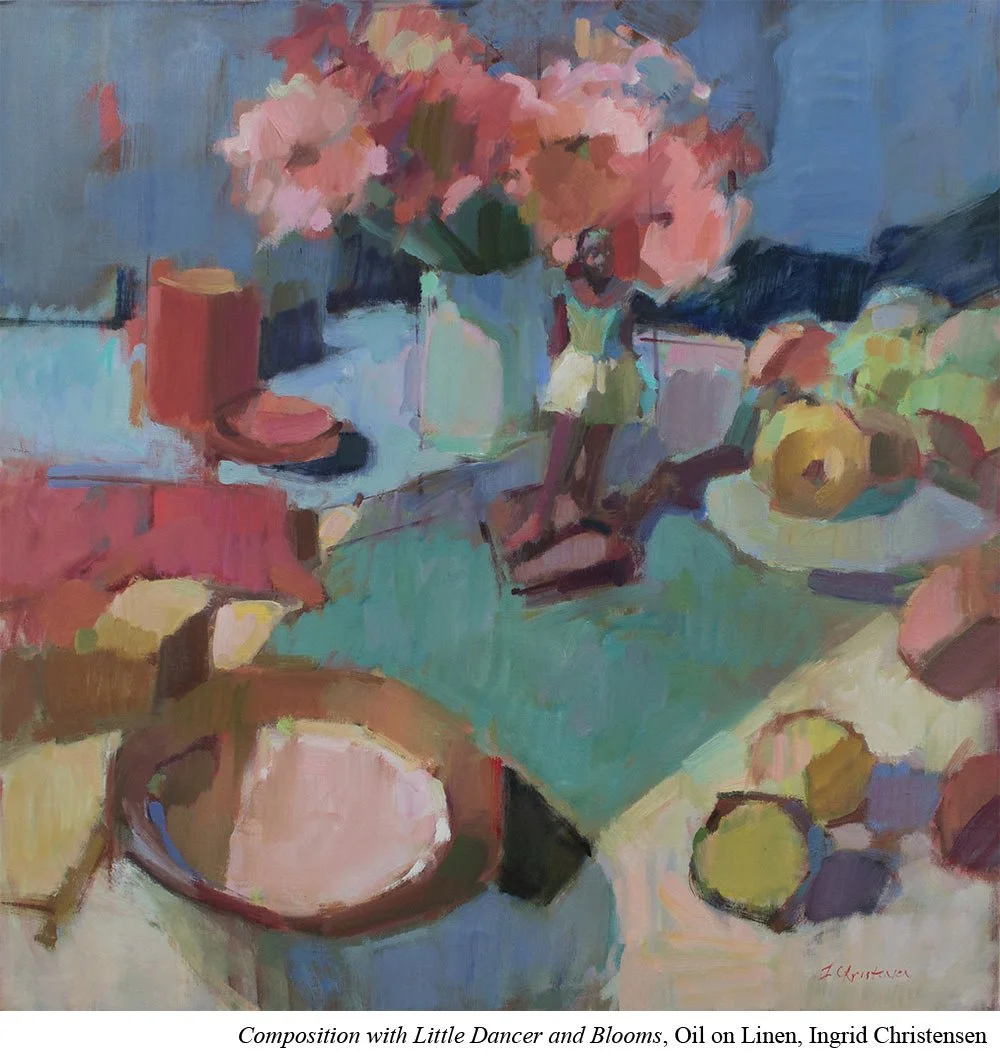
While it's important to understand how shadows behave in real life, painting also gives you room to play.
Shadows aren't simply gray. They also don't have to be darker versions of the surface they fall on.
You might experiment by:
Introducing reflected color from nearby objects.
Adding hints of complementary colors to create more visual vibration.
Making the shadow yes, darker, but also increasing its saturation.
Shadows are often one of the most interesting places to explore color.
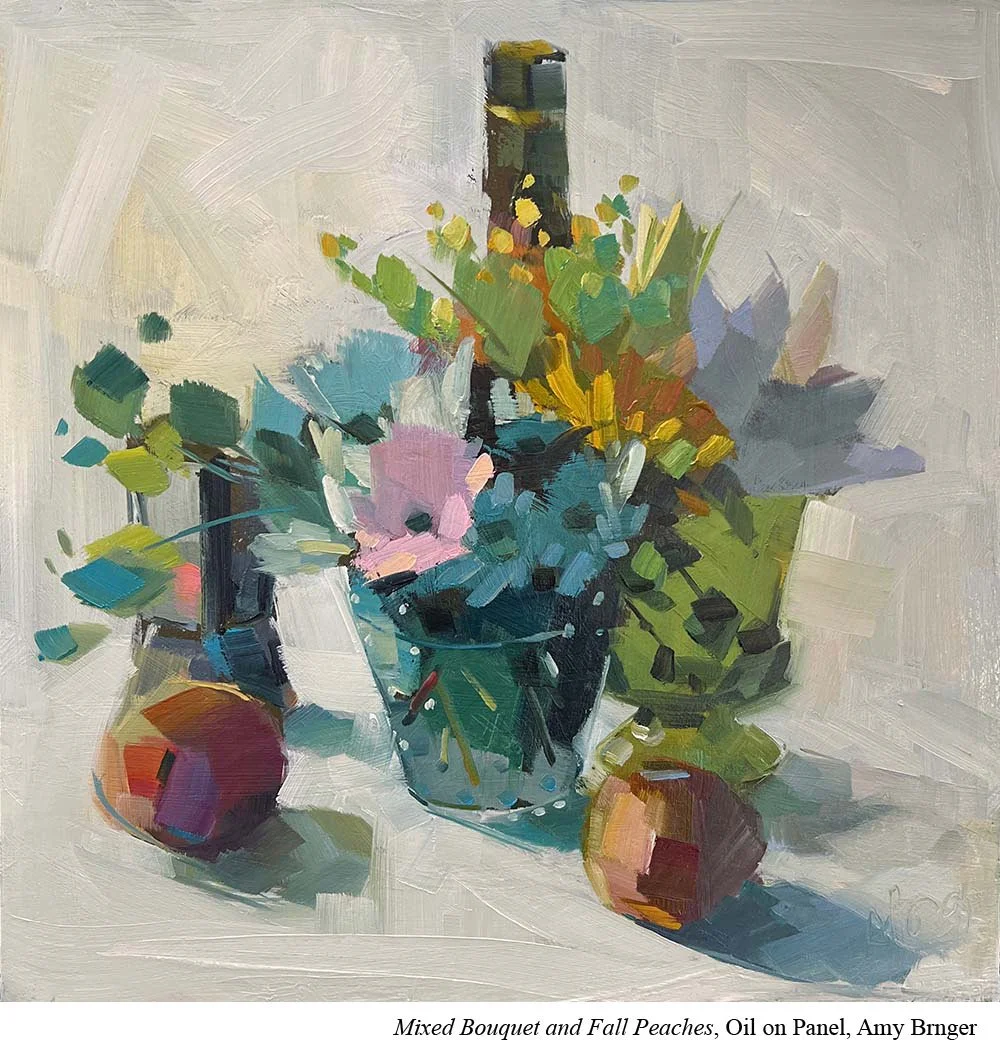
Put It to Practice
The next time you're painting a still life, spend a few minutes studying only the light before you begin painting.
As you look, ask yourself:
Where is the light most facing plane?
Where does the form begin turning into shadow?
Can you see bounce light inside the shadow?
Where is the darkest occlusion shadow?
How do the edges of the cast shadow change as they move away from the object?
Don't worry about memorizing every term. Use the vocabulary as a guide to help you slow down and really observe what the light is doing.
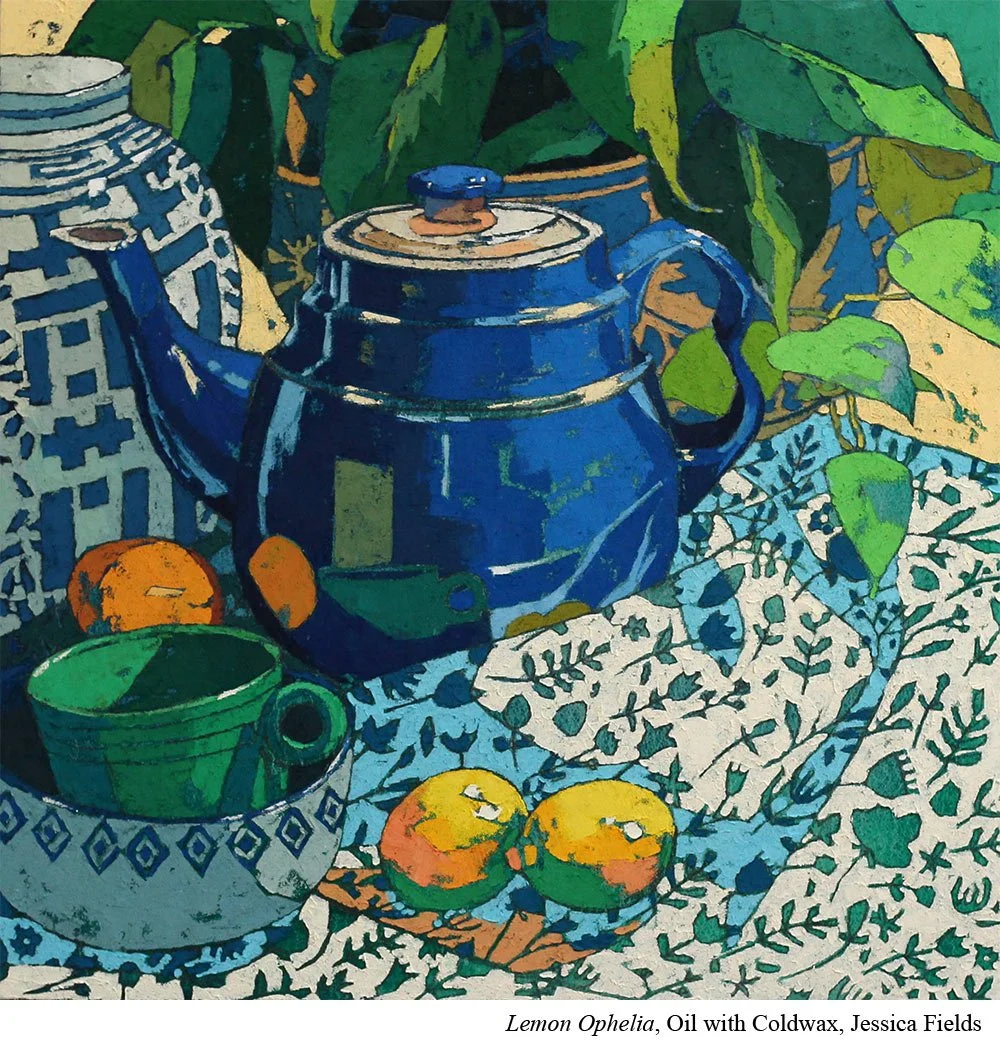
At first you might be surprised that you have trouble putting words to what you're seeing. That's normal. The more you do it, the more you'll be able to put words to what you're seeing.
Next, make a quick diagram in your sketchbook. This isn't meant to be a finished, fancy drawing. You're building yourself a tool. Label the different parts of the light and shadow so you begin connecting the vocabulary to what you're seeing.
Then think about the techniques your medium uses to create those effects. Which edges need to stay crisp? Which ones need to soften? How will you create those transitions in your paint?
Finally, ask yourself how you might push the color while staying true to the values you observed.
Whether you're painting a sphere, a coffee mug, or a human face, light follows the same basic principles. The subject changes. The forms become more complex. But the behavior of light remains remarkably consistent.
Train your eye to recognize those patterns. Learn the techniques your medium uses to recreate them. Then give yourself permission to explore color, brushwork, and edges in ways that make the painting your own.
Work from additional guests: